


Dealing with PCOS Facial Hair? Try These Waxing Tricks
Are you sick and tired of fighting hair growth because of your PCOS? Waxing would be the right alternative solution for you.
PCOS is a medical condition characterized by excessive or abnormal levels of androgens in a person's ovaries. Generally, androgen is found in low quantities among individuals with ovaries.
Millions are found suffering around the globe, and are associated with a range of symptoms from having an uneven skin complexion to excessive hair growth, and many others!
Depending on the experienced symptoms, most people could manage them through medication or external practices such as hair removal.
So, how exactly can you find the Best Wax for PCOS Facial Hair? This is what we are going to discuss in this blog. Besides that, we will discuss waxing tips that will help and guide you to remove hair without much suffering.
PCOS- Polycystic Ovary Syndrome
This condition is identified with small cysts that develop in the ovaries because of an excess production of androgens. However, due to the highly diverse nature of the syndrome, some people do not develop those cysts, which are considered to be very sufferable symptoms of PCOS.
There is not much evidence on the causes of PCOS, but genetic disposition and insulin resistance are thought to engender it. Individuals having family histories are susceptible more to the disease compared to those having no family history.
Hirsutism
You may probably encounter the word 'hirsutism' when looking for the symptoms of PCOS or PCOS hair growth. It is a condition of excessive hair growth in male-like patterns for women who produce excessive levels of androgen or testosterone in the body.
Not all women suffering from hirsutism are diagnosed with PCOS. However, both disorders are closely interlinked, in which PCOS is the commonest cause of the condition of hirsutism.
Whether the cause is due to PCOS or not, hirsutism can be treated through the regular methods of hair removal applicable to the hirsutism caused by PCOS - waxing, shaving, or laser.

Why Waxing is a Great Option for PCOS Facial Hair
Waxing is one of the ideal hair removal methods at home that works best on PCOS. Waxing pulls the hair from its roots, giving it a more long-lasting effect. Gradually, and with regular waxing, the hair follicles overcome their stronghold and lead to thinner regrowth.
Do you have PCOS and are scared of waxing, do not worry! With the products and techniques, there will be no harsh experience in waxing.
Selection of the Best Wax for PCOS Facial Hair
Waxing does the perfect job of hair removal; it is essential to use the right wax at times, particularly for faces. Choosing the right kind of wax becomes very important if you plan to wax PCOS facial hairs because sensitivity is quite common in most people.
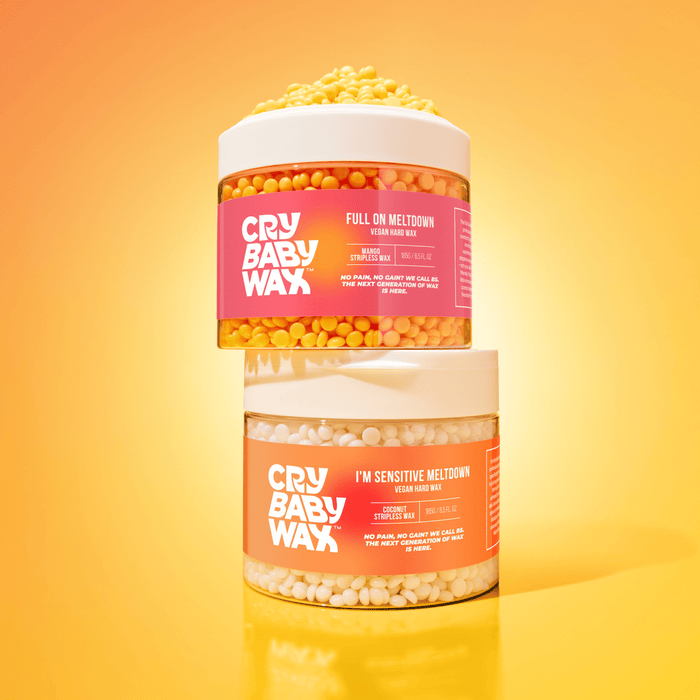
It is better, therefore, to go for hard wax and sugar wax options since they attach to the hair alone and not to the skin, thus reducing the amount of pain suffered.
These are some of the finest tips on how to choose the right wax for PCOS facial hair:
- Go for Hypoallergenic Formulas: Wax should be free from fragrances, dyes, or harsh chemicals.
- Try a Little Patch: Use on just a small part of the skin to check for any reactions before going for the entire body area with the wax.
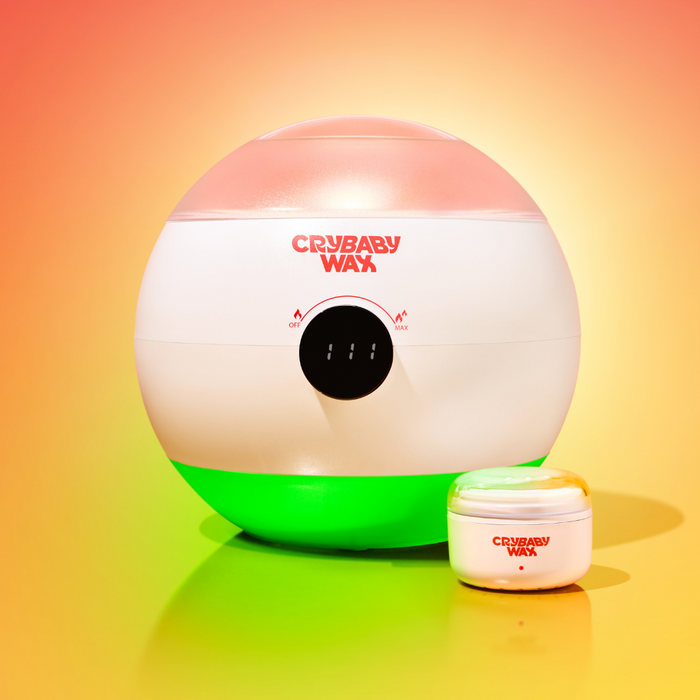
- Check the Temperature: In case you are using hot wax, there should not be too much heat to avoid burns.
Prepare Your Skin for Waxing PCOS Facial Hair
Preparation is significant for a smooth experience. Here are the steps to getting your skin ready for this activity:
- Deep Clean: Cleanse your face with a soft cleanser. Just wipe off all the makeup, oil, and dirt.
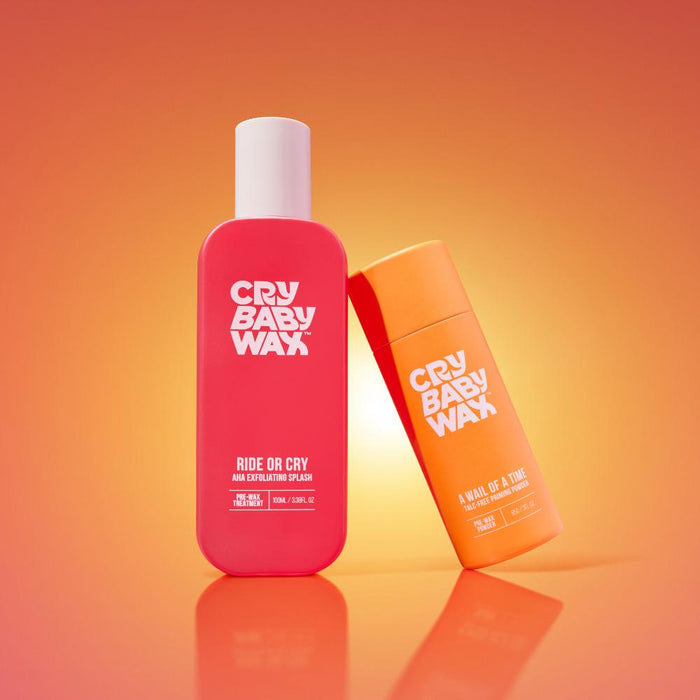
- Exfoliate: Use a very mild exfoliator to remove dead skin cells. This also prevents ingrown hair. Don't use it too often, as it stings your skin.
- Dry Your Skin: Skin must be completely dry before waxing.
Waxing Tricks for Smooth Results
The next step is to wax once your skin has been prepared. The tricks mentioned below will help you to achieve the perfect best results:
- Work in Small Sections: Small area waxing at a time allows for greater control and limits pain.
- Apply Wax in the Direction of Hair Growth: This ensures better adhesion and minimizes breakage.
- Pull Against the Hair Growth: Restrain the skin taut, then apply a quick and firm force at the opposite of hair growth.
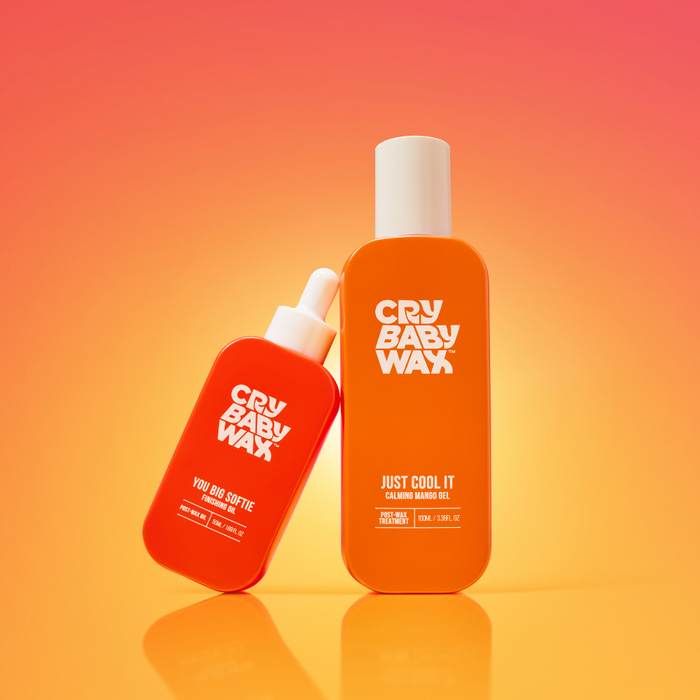
- Soothe Your Skin: Post-waxing, to cool down redness, apply soothing gel or aloe vera.
Post-Wax Care for Sensitive Skin
Moreover, proper care after waxing for overall effective hair removal, as well as reducing irritation, is very necessary. The post-wax use of after-wax cream with skin-calming ingredients like aloe vera nourishes the skin with oils. The application of cooling gels or a cold compress is usually done immediately after waxing to relieve pain and reduce redness and swelling by closing the pores.
As a preemptive measure against ingrown hairs along with unwelcome hairs, exfoliating regularly as well as avoiding tight clothing that creates friction are post-waxing recommendations.
DIY Waxing vs. Professional Services
When choosing between DIY waxing and having it done by a professional, make sure to check your comfort level and experience. Although DIY waxing is really economical and convenient to master your technique, you have to practice it. On the other hand, a professional esthetician will give you exact results with minimal irritation.
Newcomers, start with a small area and gradually increase your waxing surface area. It would be good to invest in the best face wax for PCOS so that you would benefit well and experience a good wax.

PCOS and Waxing: Why Waxing is Good
It's more than just hair removal. Waxing will boost your confidence. Here are some factors why you should consider it:
- Results for a Long Duration: The waxing keeps the skin devoid of hair for many weeks so that one can find time to spend on something else.
- Smoother Skin: Regular waxing can promote skin exfoliation; thus, the skin becomes much glossier and smoother.
- Weaker Regrowth: Over a period of time, waxing makes the hair growth thinner and sparser.
Overcoming Waxing Challenges
Various waxing challenges for PCOS facial hair include irritation, redness, or ingrown hair. Here is how to deal with such challenges:
- Sensitivity: Using a soothing serum after waxing helps relieve redness and calms the skin.
- Redness: Applying a cold compress immediately afterward works well to soothe the swollen area.
- Ingrown Hairs: Be sure to exfoliate regularly and use products designed to treat ingrown.
Discovering The Most Effective Facial Wax for PCOS

With so many products in the market, it becomes cumbersome at times to find the Best Facial Wax for PCOS. Look for brands that really cater to sensitive skin and use ingredients of the highest quality. Read through reviews or ask other PCOS people what they recommend; both will allow you to make a more informed choice.
Your Confidence Booster Awaits!
PCOS facial hair management doesn't have to be a headache. With some proper waxing techniques, products, and care, one can achieve smooth, glowing skin and redress and regain lost confidence. Remember, there is always practice, so don't be disheartened if it's not perfect on the first try.
If you're ready to embark on your journey of waxing, look no further than the phenomenal products offered at Crybaby Wax. We help you find the best solution for PCOS hair removal at home.
Goodbye, unwanted facial hair; hello, smooth, confident you!
Frequently Asked Questions
Is the waxing method good for people with hirsutism?
Of all the methods of hair removal, effective in causing ingrown hairs and permanent or near permanent skin damage, waxing is perhaps the best. So, think carefully before the wax is considered for hirsutism.
Is waxing more effective for PCOS?
Yes, waxing stands out among many hair removal methods when it comes to people or individuals suffering from PCOS, as it is most applicable, cost-effective, and saves a longer time with the benefits of laser hair removal or shaving regularly.
What causes hirsutism in women suffering from PCOS?
Hirsutism in women suffering from PCOS is associated with enhanced androgen levels and insulin resistance, producing these signs and symptoms.
Is Waxing an Effective Treatment for PCOS-Induced Excessive Body Hair Growth?
The waxing process can help with the long-term management of abnormal or fast hair growth typical of PCOS through thinner and less frequent regrowth.